

Healthy soil is the ‘black gold’

If asked what is the secret to planting success, the secret is for planting success is the planting soil. Soil is the engine room for your garden. Improving the health of your soil is a key step in having a healthy productive garden. There are many suggestions about refurbishing and enriching garden soils. All of them talk about tilling, digging, then adding compost.
How to make your own compost
Gardeners gold’ or ‘black gold’: these are some positive descriptions for compost. It returns nutrients to the soil, to promote growth of your plants and keep your flowers healthy and thriving. You get bigger produce, prettier flowers and a healthier garden at no extra cost to you. Here is a simple DIY project on how to re-use your kitchen scraps and garden waste turning them into valuable soil conditioners. You save money, benefit your garden and help preserve the environment, all at the same time with this simple project. It is a win-win situation all around. With these simple steps on how to compost, you’ll soon have all of the bragging rights of a pro. When you make compost, you needa healthy blend of carbon (brown) and nitrogen (green).
Compost is a fantastic soil improver, and it is easy to make your own. It is a little like making lasagna or layered cake. By layering different organic materials and then ‘baking’ (or composting in this case), you’ll be making your own organic soil improver and plant fertilizer. Here are some steps on how to make your own compost so you too can enjoy the benefits of ‘black gold’,so coveted by gardeners for your garden.
Some common misconceptions of home composting are that it’s too complicated, it will smell funny and that is too messy. These are all true if you compost the wrong way. Composting the right way is a very simple approach. Simply layering organic materials and a dash of soil to create a concoction that turns into formula (the best soil builder around!) you can then improve your flower garden with compost, top dress your lawn, feed your growing vegetables and more. You’ll have bigger produce, prettier flowers and a healthier garden and all these come with no extra cost to you.
Location
The location is one of the most important steps for starting a compost pile.You should find level ground that is spacious and has good drainage.Your location should have a good mix of sun and shade. If there is not enough shade the compost will dry out . You need just enough sun to to make sure that the pile does not stay too damp. When you are locating your pile, try to avoid places where pets and other wildlife may scavenge.
A good size for a compost is 3feetX3feet. A smaller one is fine if you keepit turned and watered well .If you do not have a compost bin, you should start your pile on the ground. Your compost will not cure properly if you start it on cement or blacktop. .Some gardeners build there pile on old wooden pallets.
Types of Composting
Before you start piling on, recognize that there are two types of composting: cold and hot. Cold composting is as simple as collecting yard waste or taking out the organic materials in your trash (such as fruit and vegetable peels, coffee grounds and filters, and eggshells) and then corralling them in a pile or bin. Over the course of a year or so, the material will decompose.
Hot composting is for the more serious gardener but a faster process—you’ll get compost in one to three months during warm weather. Four ingredients are required for fast-cooking hot compost: nitrogen, carbon, air, and water. Together, these items feed microorganisms, which speed up the process of decay. When worms eat your food scraps, they release castings, which are rich in nitrogen.
With these simple steps on how to compost, you’ll have all of the bragging rights of a pro!
What to Compost
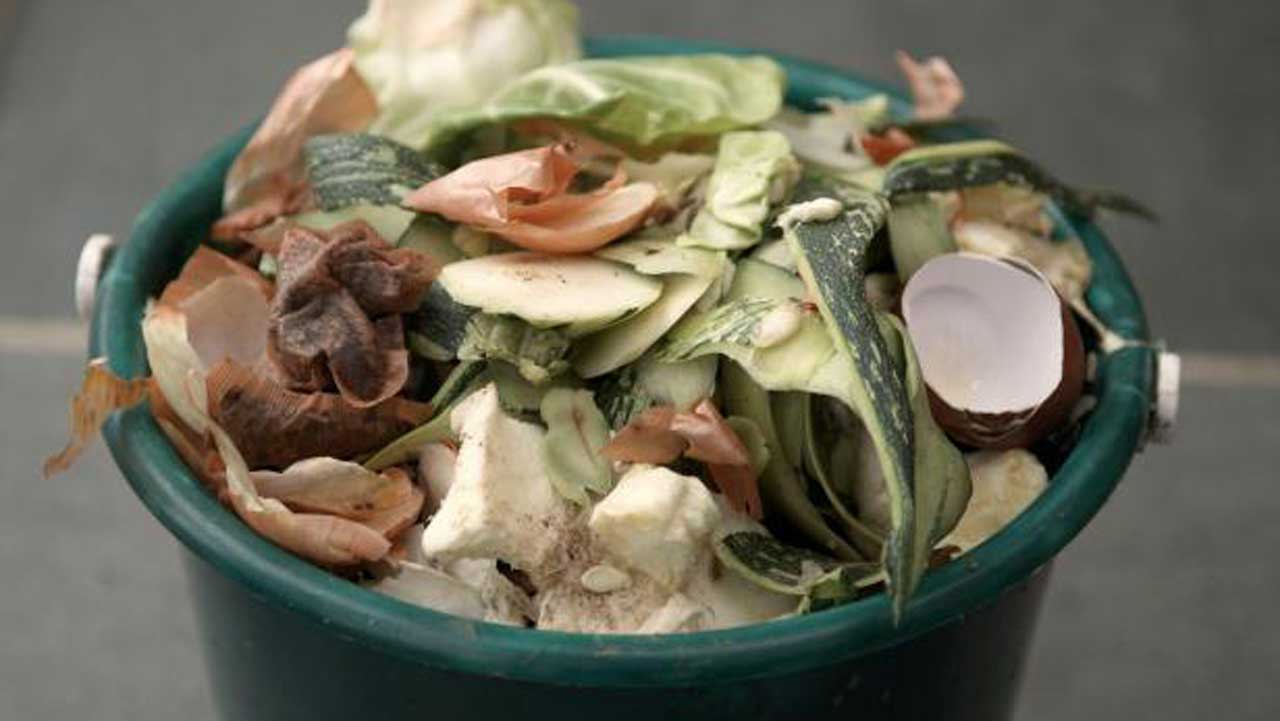
Composting is a great way to use the things in your refrigerator that you didn’t get to, therefore eliminating waste. Keep a container in your kitchen, such as a tin bucket or crock, to accumulate your composting materials. If you don’t want to buy one, you can make your own indoor or outdoor homemade compost bin. Collect these materials to start off your compost pile right:
Fruit scraps
Vegetable scraps
Coffee grounds
Eggshells
Grass and plant clippings
Dry leaves
Finely chopped wood and bark chips
Shredded newspaper
Straw
Sawdust from untreated wood
Editor’s Tip: Think twice before adding onions and garlic to your homemade compost pile. It is believed that these vegetables repel earthworms, which are a vital part of your garden.
What NOT to Compost
Not only will these items not work as well in your garden, but they can make your compost smell and attract animals and pests. Avoid these items for a successful compost pile:
Anything containing meat, oil, fat, or grease
Diseased plant materials
Sawdust or chips from pressure-treated wood
Dog or cat feces
Weeds that go to seed
Dairy products
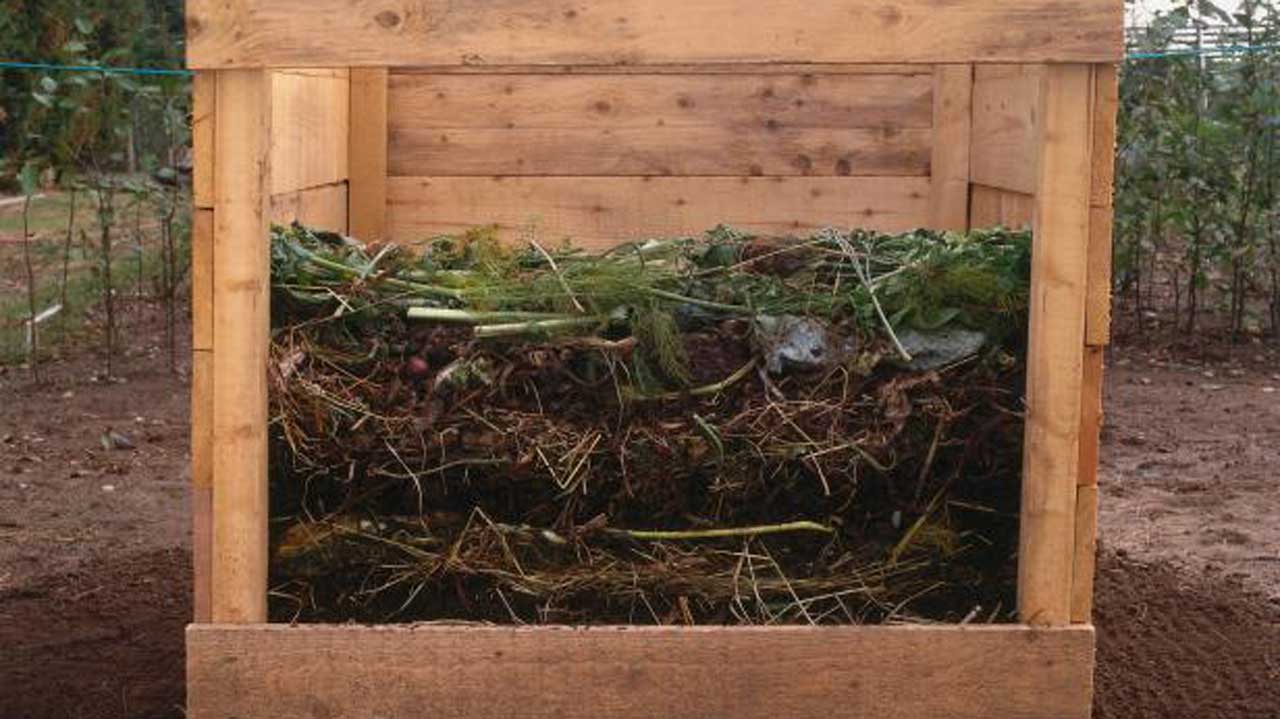
Step 1: Combine Green and Brown Materials
To make your own hot-compost heap, wait until you have enough materials to make a pile at least 3 feet deep. You are going to want to combine your wet, green items with your dry, brown items. Start building your organic compost pile, alternating brown and green items. If your compost pile looks too wet and smells, add more brown items. If you see it looks extremely brown and dry, add green items and water to make it slightly moist.
Step 2: Water Your Pile
Sprinkle water over the pile regularly so it has the consistency of a damp sponge. Don’t add too much water, otherwise the microorganisms in your pile will become waterlogged and drown. If this happens, your pile will rot instead of compost. Monitor the temperature of your pile with a thermometer to be sure the materials are properly decomposing. Or, simply reach into the middle of pile with your hand. Your compost pile should feel warm.
Step 3: Stir Up Your Pile
During the growing season, you should provide the pile with oxygen by turning it once a week with a garden fork. The best time to turn the compost is when the center of the pile feels warm or when a thermometer reads between 130 and 150 degrees F. Stirring up the pile will help it cook faster and prevents material from becoming matted down and developing an odor. At this point, the layers have served their purpose of creating equal amounts of green and brown materials throughout the pile, so stir thoroughly.
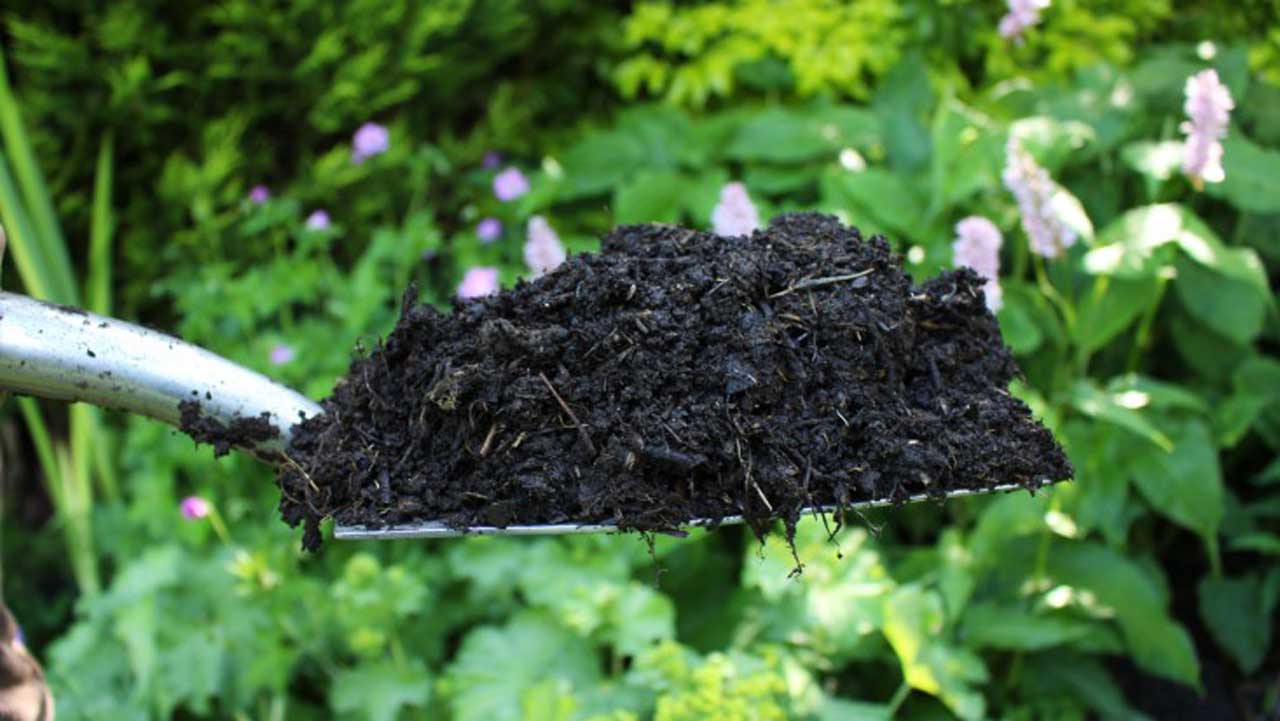
Step 4: Feed Your Garden
When the compost no longer gives off heat and becomes dry, brown, and crumbly, it’s fully cooked and ready to feed to the garden. Add about 4 to 6 inches of compost to your flower beds and into your pots at the beginning of each planting season.
Some gardeners make what’s known as compost tea with some of their finished compost. This involves allowing fully formed compost to “steep” in water for several days, then straining it to use as a homemade liquid fertilizer.
With just a few kitchen scraps and garden debris and some patience, you’ll have the happiest garden possible.
Related

Latest


Get the latest news delivered straight to your inbox every day of the week. Stay informed with the Guardian’s leading coverage of Nigerian and world news, business, technology and sports.
0 Comments
We will review and take appropriate action.